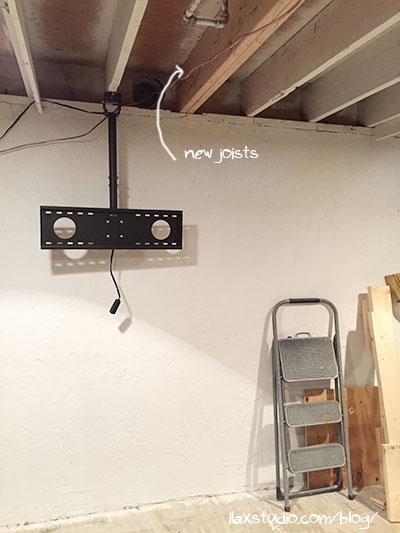
House Project: Basement Joist Replacement (part i)
We moved the house project party to the basement on Wednesday and Thursday so we could replace one of the joists we had been jacking up. Why take a break from all the attic work, when we are on such a deadline, to do this (note: we asked our contractor to move his ceiling install date back another week – no way we’d have all the work done by August 15)? Because we’re concerned if we replace the joist later, it will crack the new ceilings that will be installed on our second floor. Jacking up this joist has been affecting the second floor, so no reason to risk cracking something that is brand new.
It was a nice change to go work in the air conditioned basement, and not have to wear a face mask the entire time! And to have space to move around without stepping on plastic. Woo hoo!
The first thing we did was move as much out of the way on the floor as possible, since we knew we’d have to somehow get a long (16′!) joist in to the basement.
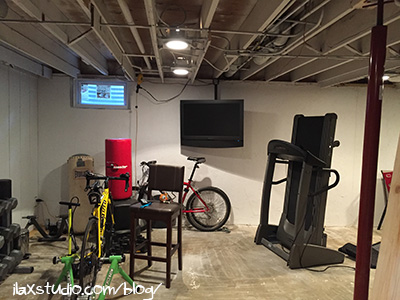
Part of the workout area before
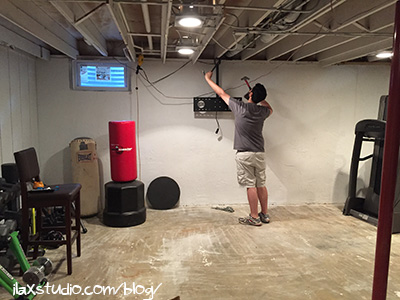
And after. Good thing I did my indoor ride during lunch break on Wednesday!
We also moved weight off the joist from the floor above in the kitchen (sigh, now, basically every room in our house is a disaster zone):
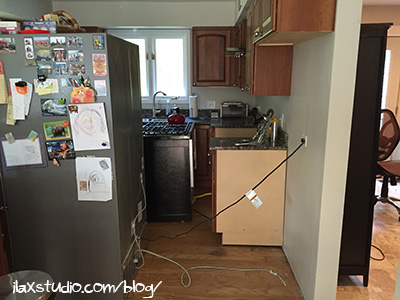
Moving the fridge and stove away from the joist
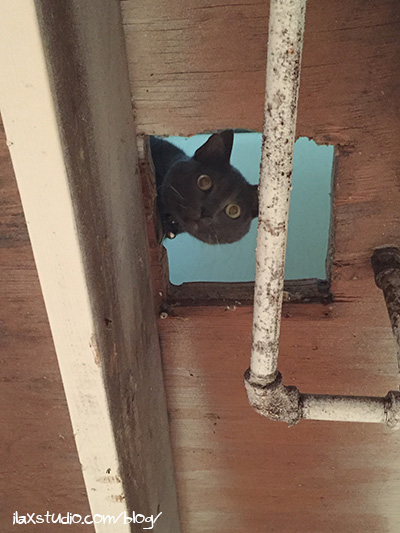
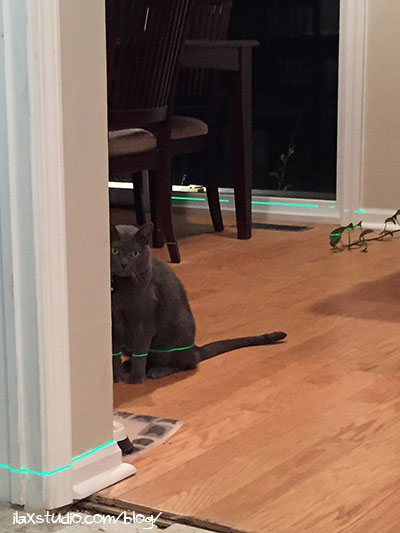
Doing that exposed the opening to the kitchen floor, and Helper Cat checked in to see how things were going:
We started removing things around the joists that would be in the way when we tried to install the new one.

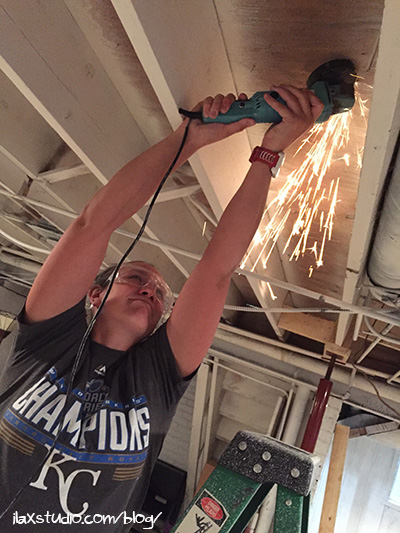
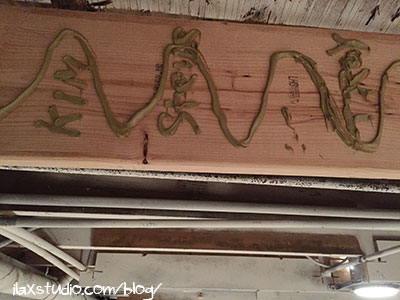
Steven put me in charge of using the angle grinder to cut off nails. SCARY! (Since we’re going to put two joists where there was one, we had to remove these nails to get the second joist in.)
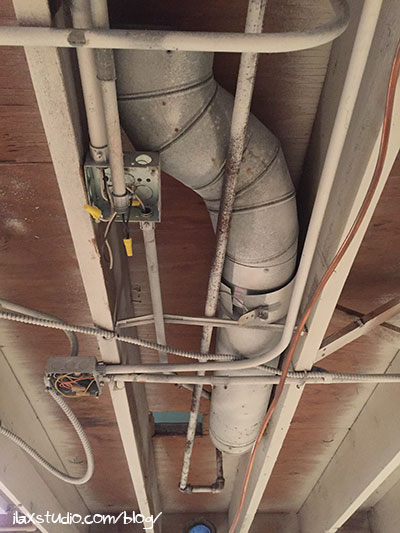
There were quite a few things we couldn’t move, and would have to work around. Eek!
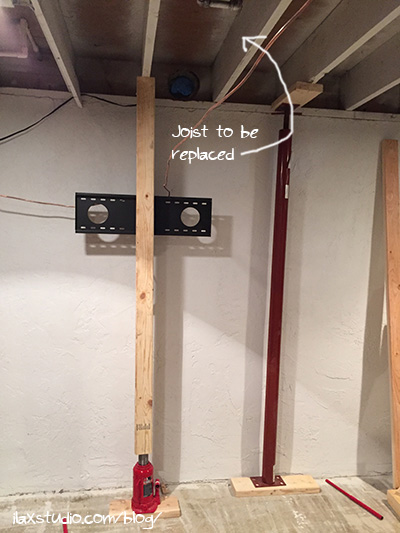
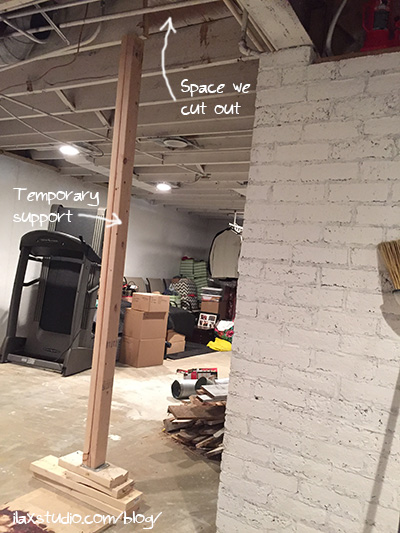
Then we built a support to push up the two joists on either side of the one we’re replacing to make space to get the new one in. That didn’t work, so we switched to plan B, and used the jacks (we thought the other method would be quicker – nope!).
And after that, we tried to get the joist out. HA! It had about a zillion nails in it. So we only got a bit of it out Wednesday night.
We resorted to cutting it, after the prybar and hammer wasn’t doing too much!
We had been prying against the sub floor so much I was convinced our office floor tile was going to be all smashed when we went upstairs. Surprisingly, it wasn’t! We put up a temporary support, and called it a night.
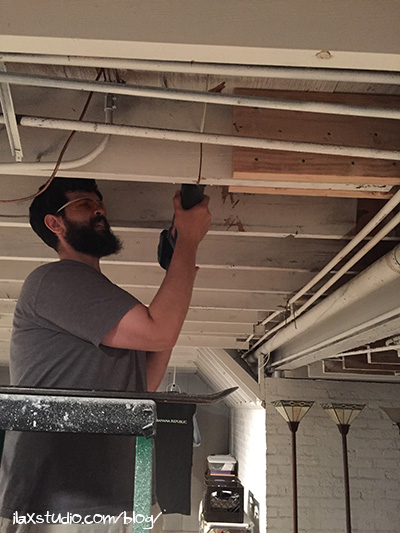
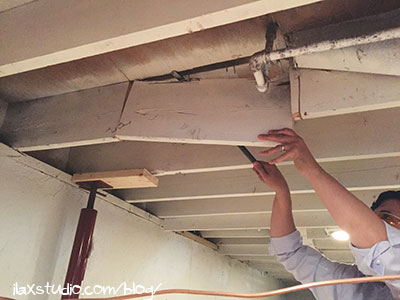
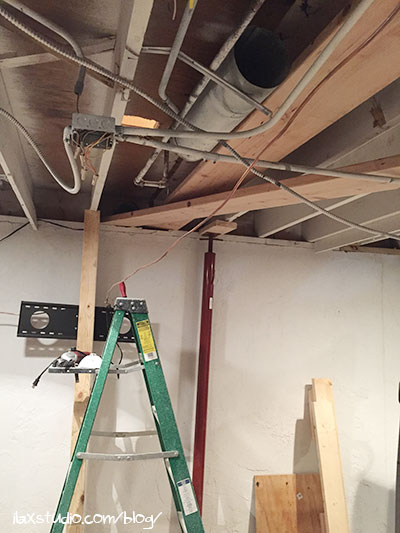
On Thursday evening, we got back to work. Steven started cutting apart the joist and taking it down,
while I set up to use the angle grinder to cut off the nails from under that joist… only to find the angle grinder wouldn’t turn on. Some wires had disconnected! While Steven worked on fixing that, I scrubbed down the subfloor where the joist was attached – it had some mold (the entire basement flooded at some point in the past few years, which probably caused it) – ew.
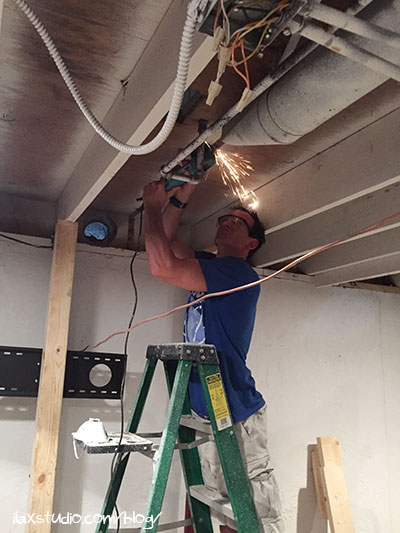
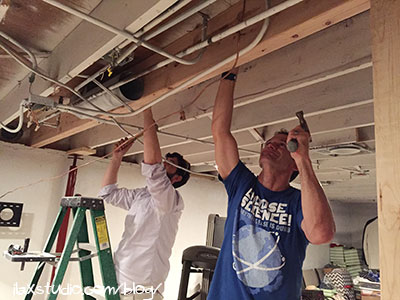
Luckily, our friend Troy arrived right as the angle grinder was fixed. Yay – he got tasked with cutting off the nails. Steven and Troy like using that thing, but there is something about sparks flying in my face that I just don’t enjoy!
Steven and I then set up in the garage to cut the new joist. As we were going downstairs to check the measurement one more time, Troy was finished, so he helped Steven cut the two new joists and I took on the important task of ordering dinner. As I was about to leave to get dinner, I saw them walking around outside with the joists so I went in the basement to bring them in – yay for basement egress windows – getting the joists in was really easy!
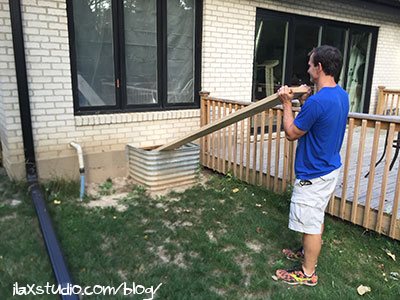
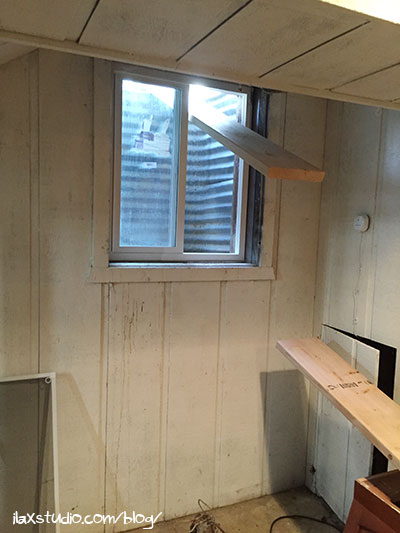
Is that a joist or are you happy to see me?
While I was out getting dinner, they got the joist almost in place (after bringing the saw inside and cutting it a bit shorter lengthwise), but couldn’t get it to stand up – the joist we were replacing was squished to 8-7/8″ and the new one was 9-1/4″. They tried everything, but it was a no go – and all the pounding cracked the new joist. Oops.
So after dinner, they cut a notch in the sill plate, and cut a new joist.
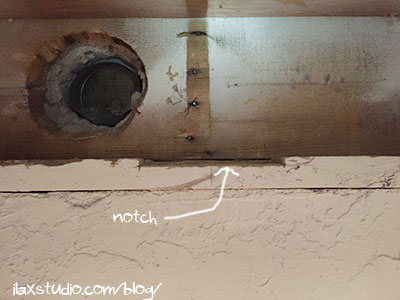
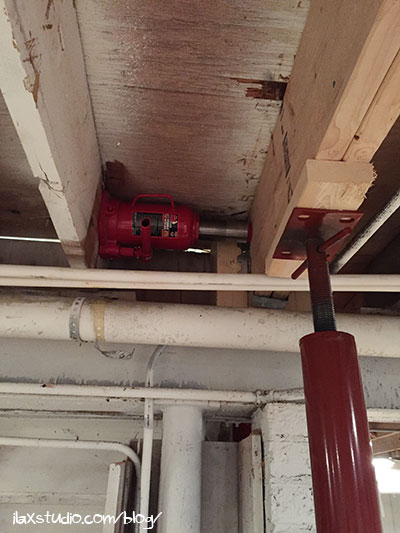
The joists rest on the sill plate on the east side of the basement, and hang on a joist hanger on the west side
The first joist went right in! Well, after some finagling above all the conduits/wires/ducts/etc.
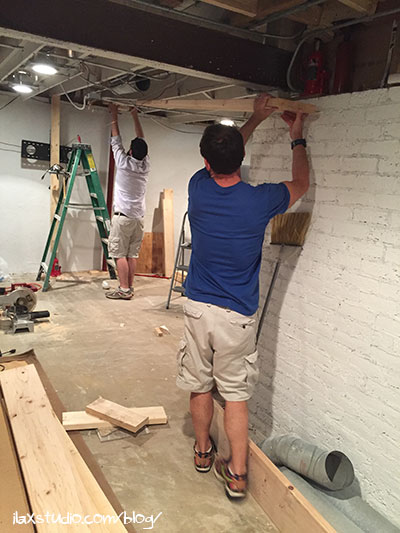
After they checked that the first one would stand up (it did!), they laid it flat to get the other one in. This is when I was really grateful Troy was there to help – he is really strong (and patient!), and that is what this job needed. I was the gofer and documentarian, and could have done this part of the work, but, let’s be honest, I was happy not to be. Ha! The more hands, the better (we’ve been very lucky to have friends and family help us during this past week)!
Once they were both in, they stood the first joist up to glue it to the second,

then start nailing them together.
One board was warped, so they had to be really careful as they put it together that they didn’t make it permanently curved. That involved manipulating it as much as possible by hand (and with hammers, etc.), and also, letting the jacks down on the other side of the wall, and bringing them over to support the new joists from below while using the baby jack to push the joist upright. This also involved using a laser upstairs to see how level it was becoming.
It worked!
After that, Steven hung the other side on a joist hanger, nailed it in place, removed the jacks, and it was finished!
East side of new joists
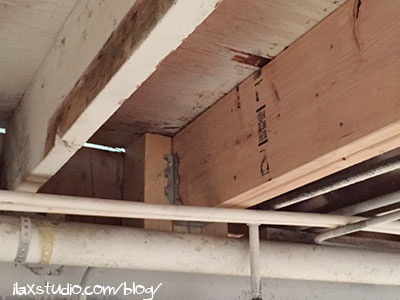
West side of new joists
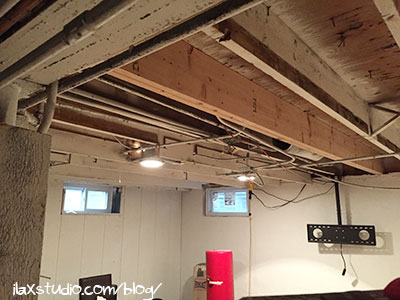
West is on the left in this photo, east is on the right
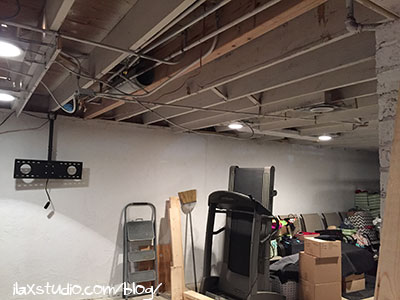
East is on the left in this photo, west is on the right. Don’t mind the mess – my stuff is spread out a bit since we can’t use the second floor!
Hooray! The floor on that side of the house is more level now, and the basement door shuts again!!! And surprisingly, no floor tiles cracked during all the jacking.
The only thing left to do is cover a hole under the stove (where Data was peering through) and one that goes outside. Oh, and we have to replace the joist on west side of the house at some point (that will be part ii!), which has even more stuff in the way. Hopefully Troy can help again!

How very cool! I would be so nervous that my house would collapse if I replaced a joist! You guys did an awesome job and should become contractors on the side! 🙂
Thanks! It is a bit nerve wracking, but we had a lot of trusts in those jacks!!! 🙂
OK, I am dying laughing at that picture of helper cat. I’m sure Data is thinking that y’all have lost your damn minds with all the construction work, LOL!
And also, seeing everything that YOU guys are doing? I’d be at the “just light a match and burn it down” phase at that point. No way could I/would I want to tackle these major projects – major kudos to you and Steven for powering through everything!
Ha ha ha! I think he DOES think that. Although part of him loves the new “playground”!
Thanks! I am surprised I haven’t gotten to that point yet! But I have 100% faith in Steven – he’s so passionate about this and figuring it all out, that I feel comfortable following his lead 🙂
Love the picture of Data. And, my Hubby looks so manly with those sparks flying around his head! Great job you guys! What a huge job to check off!
We really appreciate his help!!!! For so many tasks, we’ve need another person!
Data’s expression in both pictures – priceless 🙂 He just look out of sorts a bit, poor kittty lol
That is major work! You really should call HGTV – ya’ll should your own show.
Wow, you did SO much work! Congratulations on getting that new joist in. I’ll be honest, I wasn’t quite sure what a joist even was, but now I’ve learned a lot about how floors stay (relatively) level. It’s great that you had Troy to help you (even though it looks like you and Steven were perfectly fine by yourselves). Is he a running friend?
Thanks! I am happy you learned something 🙂
Troy is the husband of a friend who ran in our old neighborhood (who now takes my Monday night class). Steven and Troy get along really well 🙂